
Tomorrow I will be posting some more Farmer's Wife blocks, so stop back. If you want to see what other are working on, stop back at Patchwork Times.


 Let's talk a little bit about half squares. Sometimes no matter how carefully I cut, sew, and press, my half squares get a little uneven. I like to use the a square up ruler marketed by Eleanor Burns. I admit, I had this ruler for a long time before I figured out it's real beauty. The lines on the ruler represent the UNFINISHED size of the unit (in this case 2 1/2". Before you press the unit, place the ruler on the unit lining up the stitch line with the unfinished size of the unit. Trim off any excess on both sides of the ruler. After you press the unit, it should be the correct size. I like to use this method of squaring because I find it very accurate and very quick. If you open the unit and press first, then you will need to trim each side separately.
  These are all my bright FW blocks. I think they don't look nearly as yellow as before. I still have plenty of time to even out the colors.
 This is a pattern from the book Simplify by Camille Roskelley. I fell in love with the quilt when I first saw it. Most of the fabrics are from a scrap bag purchased from Moda. It is the Fandango line by Kate Spain. I used the whole scrap bag. I filled in with several fabrics from my resource center to give it even more variety. I just love the yellow fabric with the tags on it that Ellen gifted me. I don't plan to add any borders (at least that is currently the plan). I want to hang it on a wall in my dining room to hopefully cut down on the noise vibratations of my children. It was a very fun pattern to sew, but not one that I could take and go. Once I had the blocks arranged like I wanted, I knew I had to get it sewn together.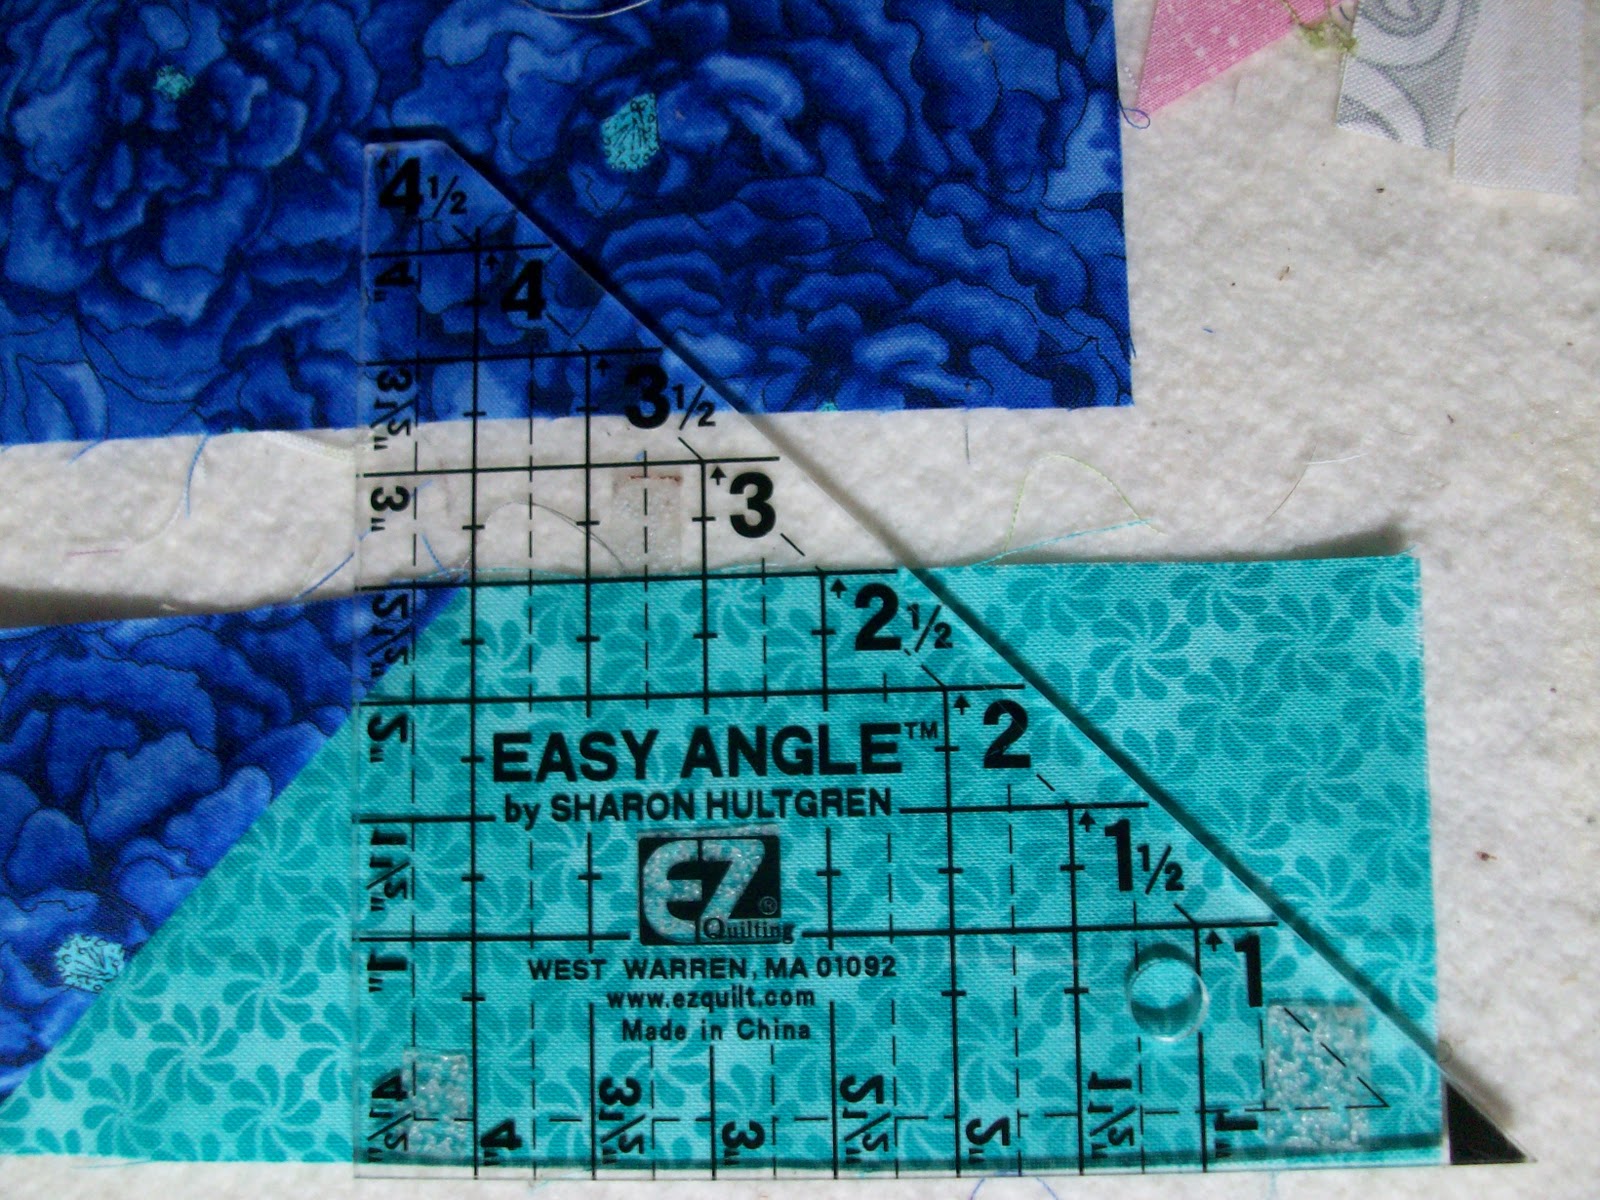

 Join the light square with 2 dark squares trim off the angles on the dark 6 1/2" pieces and add the triangles. Join the 3 pieces to complete the block.
 I finished my January blocks and I wanted to post a few more tips. This is block #55 Linoleum.
  Place the light squares on the corner dark squares and chalk or draw a line corner to corner. It is easier to do the stitch and flip method than to use the templates. We are going to sew on the line.
  Since these pieces are so small, I cut away the excess of both pieces (the background and the square) after I pressed. I pressed my rail pieces toward the red to help line the little signature blocks up.
 The bowtie block (#10) is made in a similar fashion.


 The first picture shows the difference in the markings between 2 rulers. The ruler on the right is the Olfa Frosted and the markings are the FINISHED SIZE; the ruler on the left is the Easy Angle, and the markings are the UNFINISHED SIZE. I just want you to be aware of the difference.


 Next add the remaining 1 1/2" by 4 1/2" pieces to the block
 Line up the 4 remaining triangles and finish the 6 1/2" block.
